Chives, scientifically named allium schoenoprasum, are a must grow in your herb garden. Chives are a member of the allium family and closely related to common onions, garlic and leeks. There are two varieties of chives most people plant and those are garlic chives and common chives. It’s easy to grow chives from seeds in containers with either variety.
Garlic chives have long flat green leaves and have more of a garlic flavor. Some refer to garlic chives as Chinese chives. Garlic chives grow up to approximately 2′ tall and produce white flowers.
Common chives have rounded stems that are hollow inside and have more of a mild onion flavor. The common chive plants grow about 1′ tall and produce lavender, white or pink flowers depending on the variety.
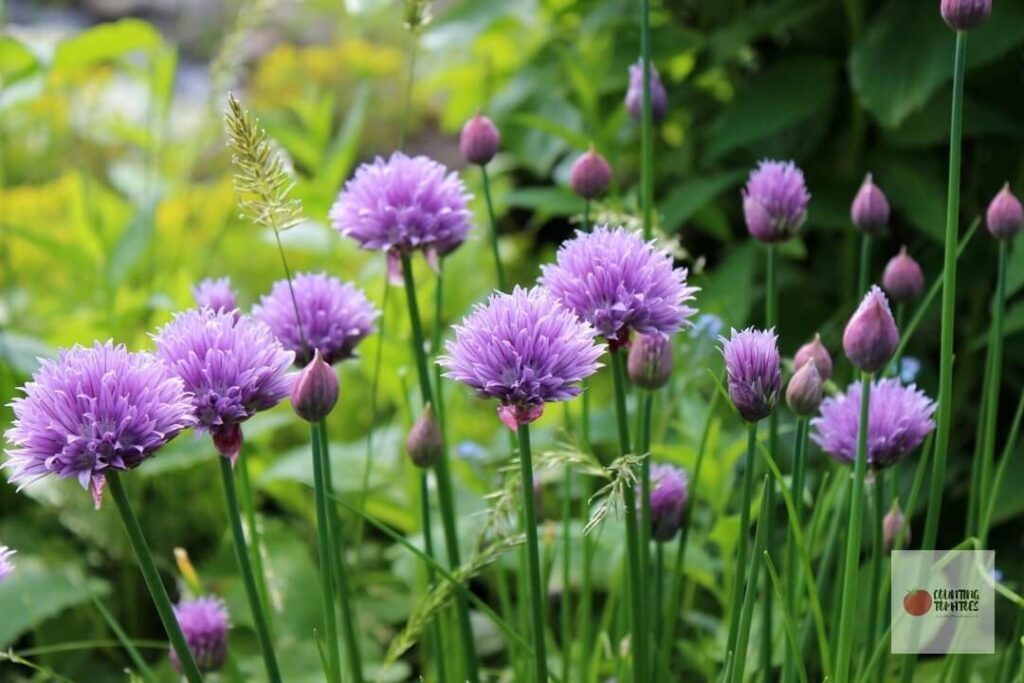
Chives are very nutrient dense and considered a powerhouse vegetable. For a complete look at the nutrition in this herb, take a look at this study.
In grow zones 6 and lower, chives are considered a perennial herb. The plant becomes dormant in the winter and emerges with new growth in the early spring.
In growing zones 7 through 9, chives are grown mostly as an annual due to our hot summers. Spring and fall are the best time for growing chives in zones 7 – 9.
You can grow indoor chives year-around following the care tips below in any growing zone.
How to Grow Chives from Seeds in Containers or Pots
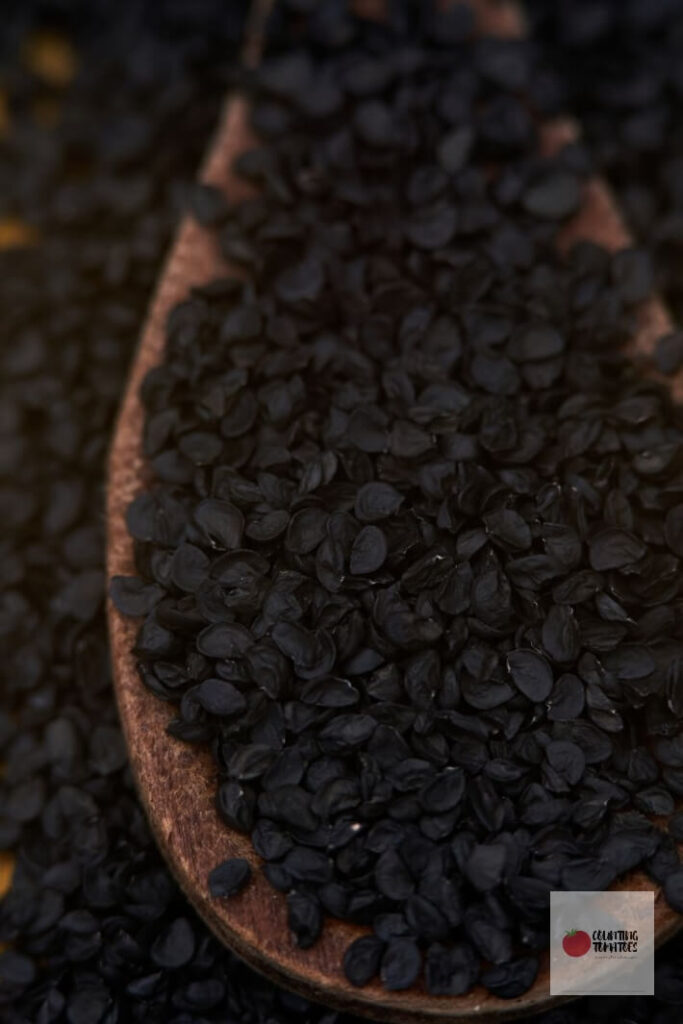
- Chive seeds take 14 – 21 days to germinate so patience is key.
- The seeds will germinate best from 60°F – 70°F, so starting these indoors is perfectly fine since your home is often between these temperatures.
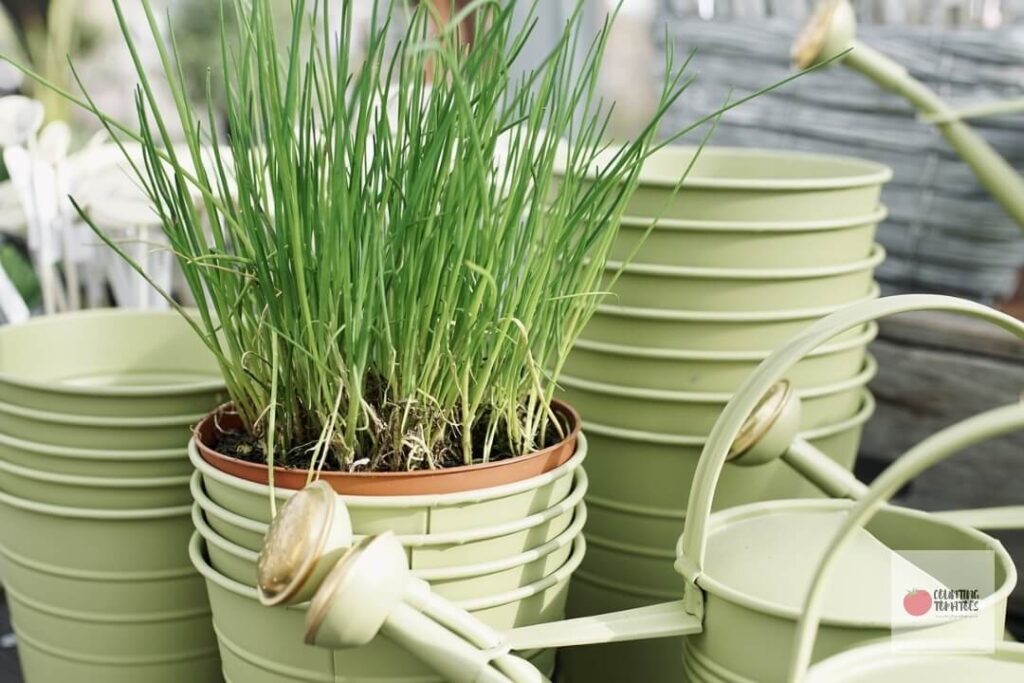
- Choose a planting vessel that is 6″ – 8″ in diameter with drainage holes.
- Fill the pot with well-drained soil and sow seeds evenly across the soil. Sowing 10 – 15 seeds should be sufficient for a small container.
- Cover with 1/4″ of soil and keep the soil moist, but not wet. A spray bottle is excellent for keeping seeds moist when germinating indoors.
- Once the seeds sprout, allow them to grow 2 – 3″ tall and then thin the seeds so you have only the 6 strongest seedlings in the pot.
How to Care for Chives
If you started your chives indoors from seeds and wish to move the container outdoors, you’ll need to wait until the danger of frost has passed. Start by placing your container of chives outdoors for a few hours each day and increasing the hours daily until they the container is outdoors full time. This process is called hardening off.
When keeping your chives indoors, place the chives in a sunny windowsill where they will receive at least 6 hours of sunlight each day. A south-facing window is preferred.
When grown outdoors, chives prefer full sun, but can tolerate partial shade. Those gardeners in zone 7 and above may need to put their chives in light shade during the hottest part of the afternoon.
Prune any spent flowers as desired to keep the plant looking fresh. You may also prune away any yellowing leaves or scapes as needed.
How to Water Chives and Fertilize Chives
Provide 1″ of water to the chives every week or when the surface of the soil feels dry to the touch. Avoid providing too much excess water as you do not you do not want the plant sitting in water. This will encourage root rot.
The chive herb does not require a lot of fertilize. Chives grown in containers can be watered with a balanced liquid all purpose fertilizer diluted to half strength every 6 weeks. Too much nitrogen will cause your plant to grow rapidly and will lessen the intensity of the chive flavor. Herbs retain their best flavor when grown slowly.
Chive Pests and Disease
Chives can experience problems with aphids, spider mites, onion maggots, mealybugs and thrips. Left unchecked, these pests can destroy your crop. If you experience any pests, use neem oil or insecticidal soap per the manufacturers instructions.
Chive diseases can include damping off where fungi causes young seedlings to die or older plants to have have stunted growth. Prevention is the best method of control by planting in well drained, loose soil.
Another chive disease is downy mildew characterized by white patches on the leaves or gray-purple growth on the leaves. Downy mildew can be treated with fungicide foliar sprays, but the best method is to practice crop rotation where another specifies of the allium family has not been planted in that container or soil for 3 – 4 years.
How to Harvest Chives
Use scissors to snip off stems and the chive flowers, if desired, and sprinkle over salads, meat and potatoes. Fresh chives are wonderful added into dips as well as compound butters with other fresh herbs like dill or parsley.
Chives can also be dried and stored in your spice cabinet for future use.
Cut the pants back frequently to encourage thicker growth.
How can I Grow my Own Chives Faster?
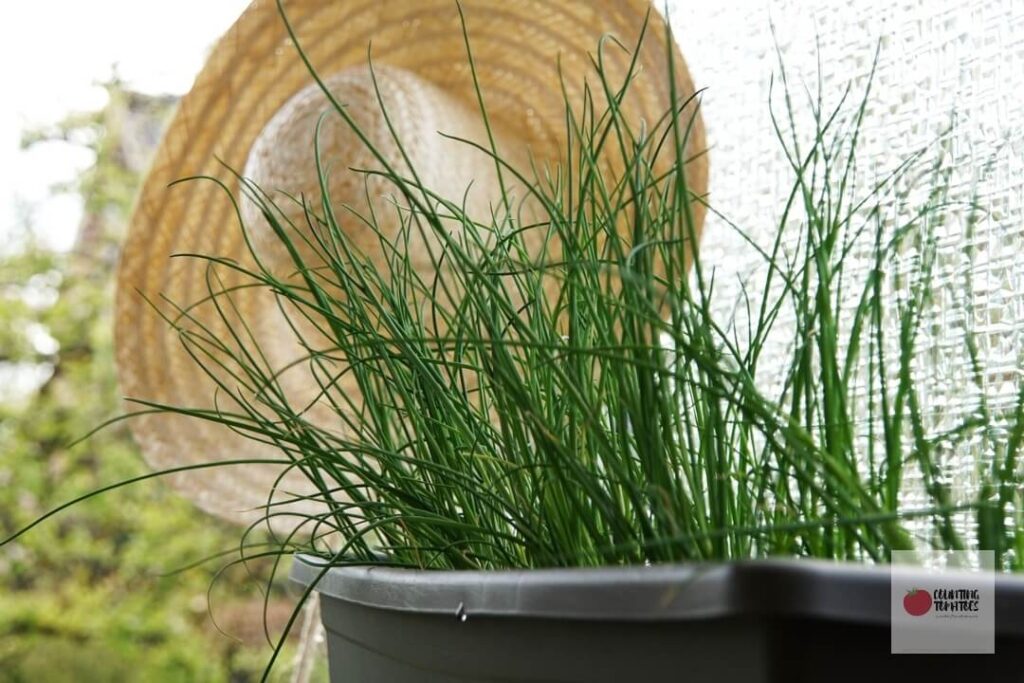
In the early spring you can find small pots of chives for sale at any local garden center. These already mature seedlings will be large enough to harvest chives in a few weeks.
Plant the transplant into a container with good drainage that is at least 6 – 8″ in diameter and at least the same amount deep. Use a good quality potting soil and water and fertilize using the recommendations above. Select a sunny spot indoors or outdoors after your last frost for your container.
Maximize your container garden by interplanting other plants with your chives. Chives are a great herb to companion plant with spinach and rosemary.
Conclusion
Whether you’re a beginner herb gardener or seasoned pro, chives are a great return on investment. They require minimal care and provide loads of fresh flavor to many culinary dishes.



I love chives, although when I grew them last year I did not have much luck. I have bookmarked this post and will try again in the Spring!