I started all of my tomato and pepper seeds in June for my fall garden and now it is time to repot those pepper and tomato seedlings into larger pots. The seed starting cells are too small for adequate root development and I like to place the seedlings in a more sturdy and nutrient-dense soil medium than the soilless seed starting mix. Let me walk you through the process of repotting seedlings.
When should seedlings be repotted? I repot my seedlings when they are at least 2 to 3 inches tall and they have developed at least one set of true leaves. If you notice the seedling is no longer getting any taller, it is likely root bound in your seed starting cell and should be repotted as soon as possible.
Gather all of your necessary supplies first.
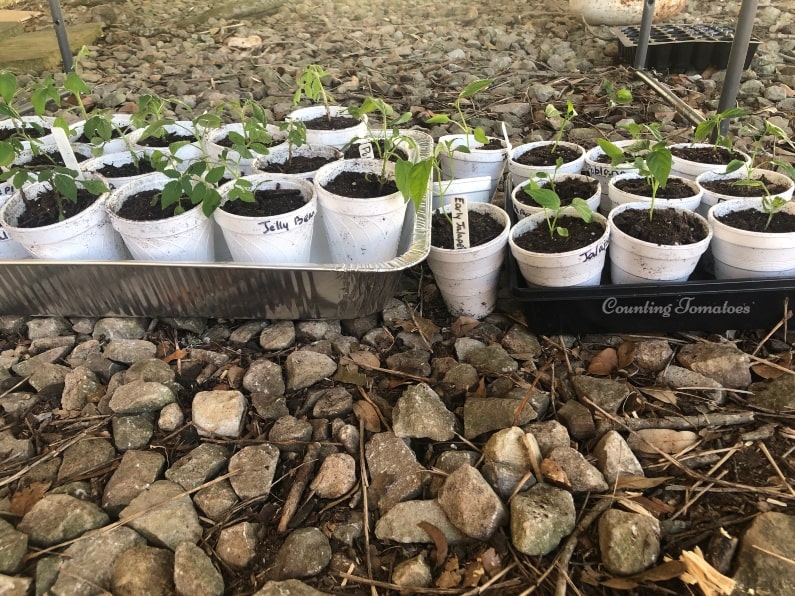
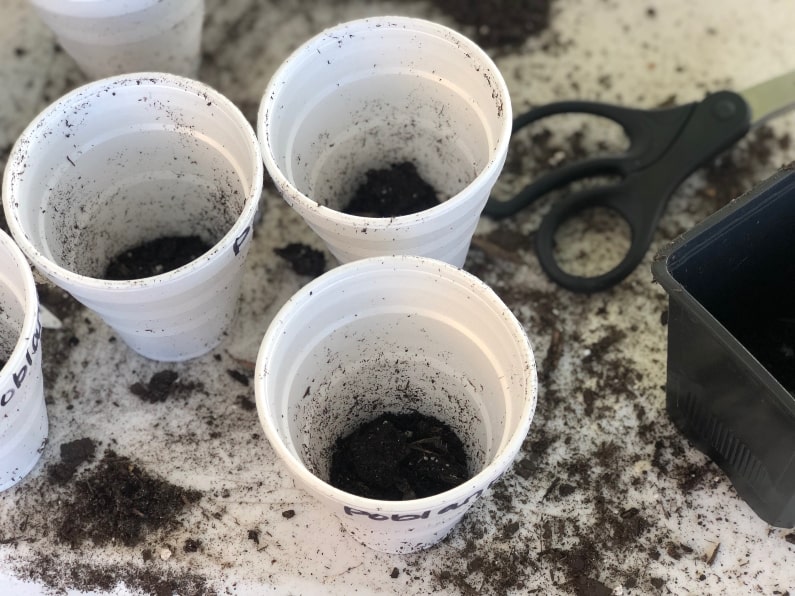
- Pots for your seedlings. I use small styrofoam drinking cups, but you can use anything you have on hand as long as they are at least twice the size of your seed starting cells. Make sure you create a drainage hole or two in the bottom of your planting vessel. If you are reusing a pot, please make sure it has been sanitized using a bleach and water mixture to kill any bacteria that may be lurking.
- New clean potting soil. Start with new potting soil and avoid re-using soil which could harbor disease and bacteria that would be harmful to the seedlings.
- A scoop or towel to scoop your potting soil into the pot.
- A butter knife or other prying mechanism to remove the seedling from the seed starting cell.
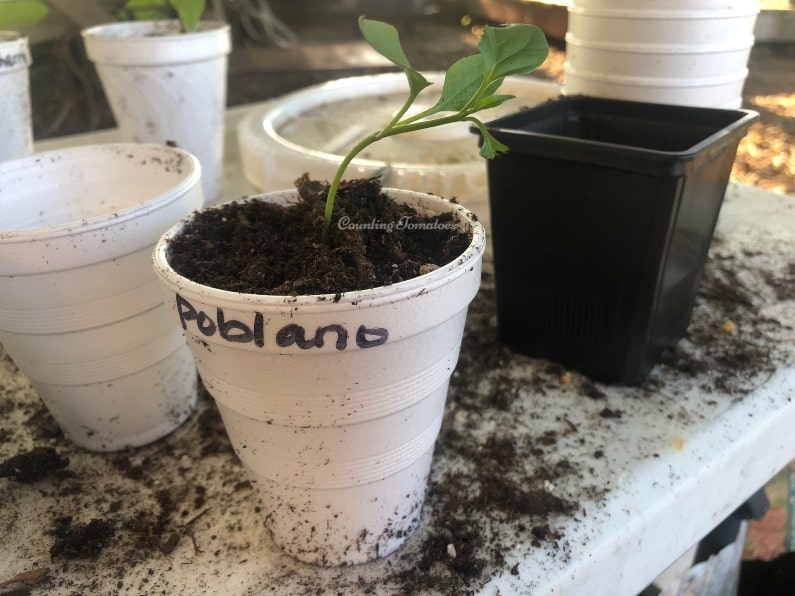
- A labeling system. I notate the type of plant on the outside of my pot using a permanent marker. You may also purchase fancy plant markers from your local gardening store.
- A sturdy tray to hold you newly repotted seedlings.
How I repot my seedlings is simple and straight forward. I’ll share my method with you. Feel free to experiment, gardening should be a fun, learning experience. Choose the best process for you and your garden.
Steps to Repotting Seedlings into Larger Pots
First I start my assembly line and pour about 1/2″ to 1″ of potting soil into each cup. I also label the cup with a permanent marker with the plant type on the outside of the cup.
Next, gently remove the seedling from the seed starting cell. I place a finger on each side of the stem and invert the cell while gently squeezing the cell. If the seedling does not pop out, GENTLY use a butter knife or prying instrument to lift it out of the cell. Loosen the roots a tiny bit.
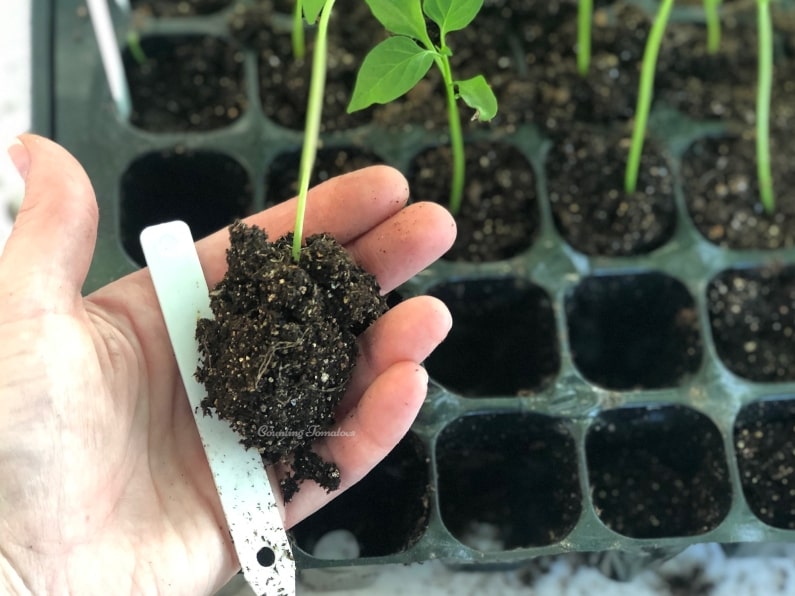
Now, carefully place the seedling in the cup and hold the stem while using the trowel to fill the cup with potting soil. I plant my tomato seedlings deep and bury most of the stem so they will develop a strong root system. Be sure to not cover up the true leaves though if you are planting deeper than the seed starting cell.
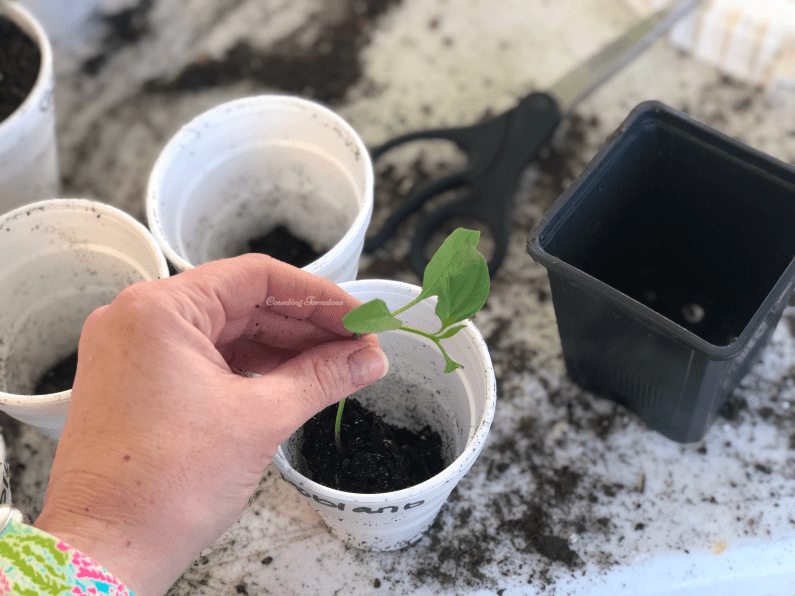
As you can see here, my pepper seedling was a bit leggy. I’m buying some of the stem on the pepper to avoid the plant from being top-heavy and getting destroyed by the wind. The pepper plant will not grow roots from the stem like a tomato plant, but burying the stem slightly deeper than the seed starting cell will still result in a stronger plant from my experience.
After all of my seedlings are repotted, I mix up a half-strength mixture of all-purpose liquid fertilizer and topwater the seedlings to ensure the potting soil is wetted thoroughly.
Keep your seedlings in the shade and out of direct line winds for a few days until they recover from repotting. Gradually introduce your seedlings to more sun and wind over the next few weeks to get them ready to go into the garden. I start all of my fall seedlings outside since we have such mild temperatures in the evening, I don’t have to worry about the soil getting too cool for germination. If you do start your seeds indoors, be sure to take extra time to harden off your seedlings before putting them in the garden permanently.